

Or maybe this should be #2 with my post on making vanilla as number 1. Of course my kids would be rolling around laughing at that. 'Two' is apparently the funniest of numbers especially when referenced as #2. Anyway, that's another blog post ...that probably is best read with air freshener.
So here we are in the midst of the holiday season. It's a swamp of shopping, wrapping, delivering. We buy, we give, we return, we regift. It can get so hectic you may catch yourself building fortifications out of ginger bread and candy canes, not that I would know anything about that...*whistle* *whistle*.
I do like giving presents, but you all know, it gets costly to give something to everyone, including your son's cub scout den mom, the UPS guy you are on a first name basis with because of your QVC habit, or that arresting officer who was nice enough to hold your hair back.
This is where I break out the pots and pans. This year my gift of choice was applesauce. It's always the right size. It is easy and quick to make, yet reflects thought and effort. It can be made for a reasonable enough price (especially if you have access to a farmers market that sells apple 'seconds') that even large quantities can be made for a modest outlay. And best of all, if the recipient feels they must regift, they will surely find an eager taker.
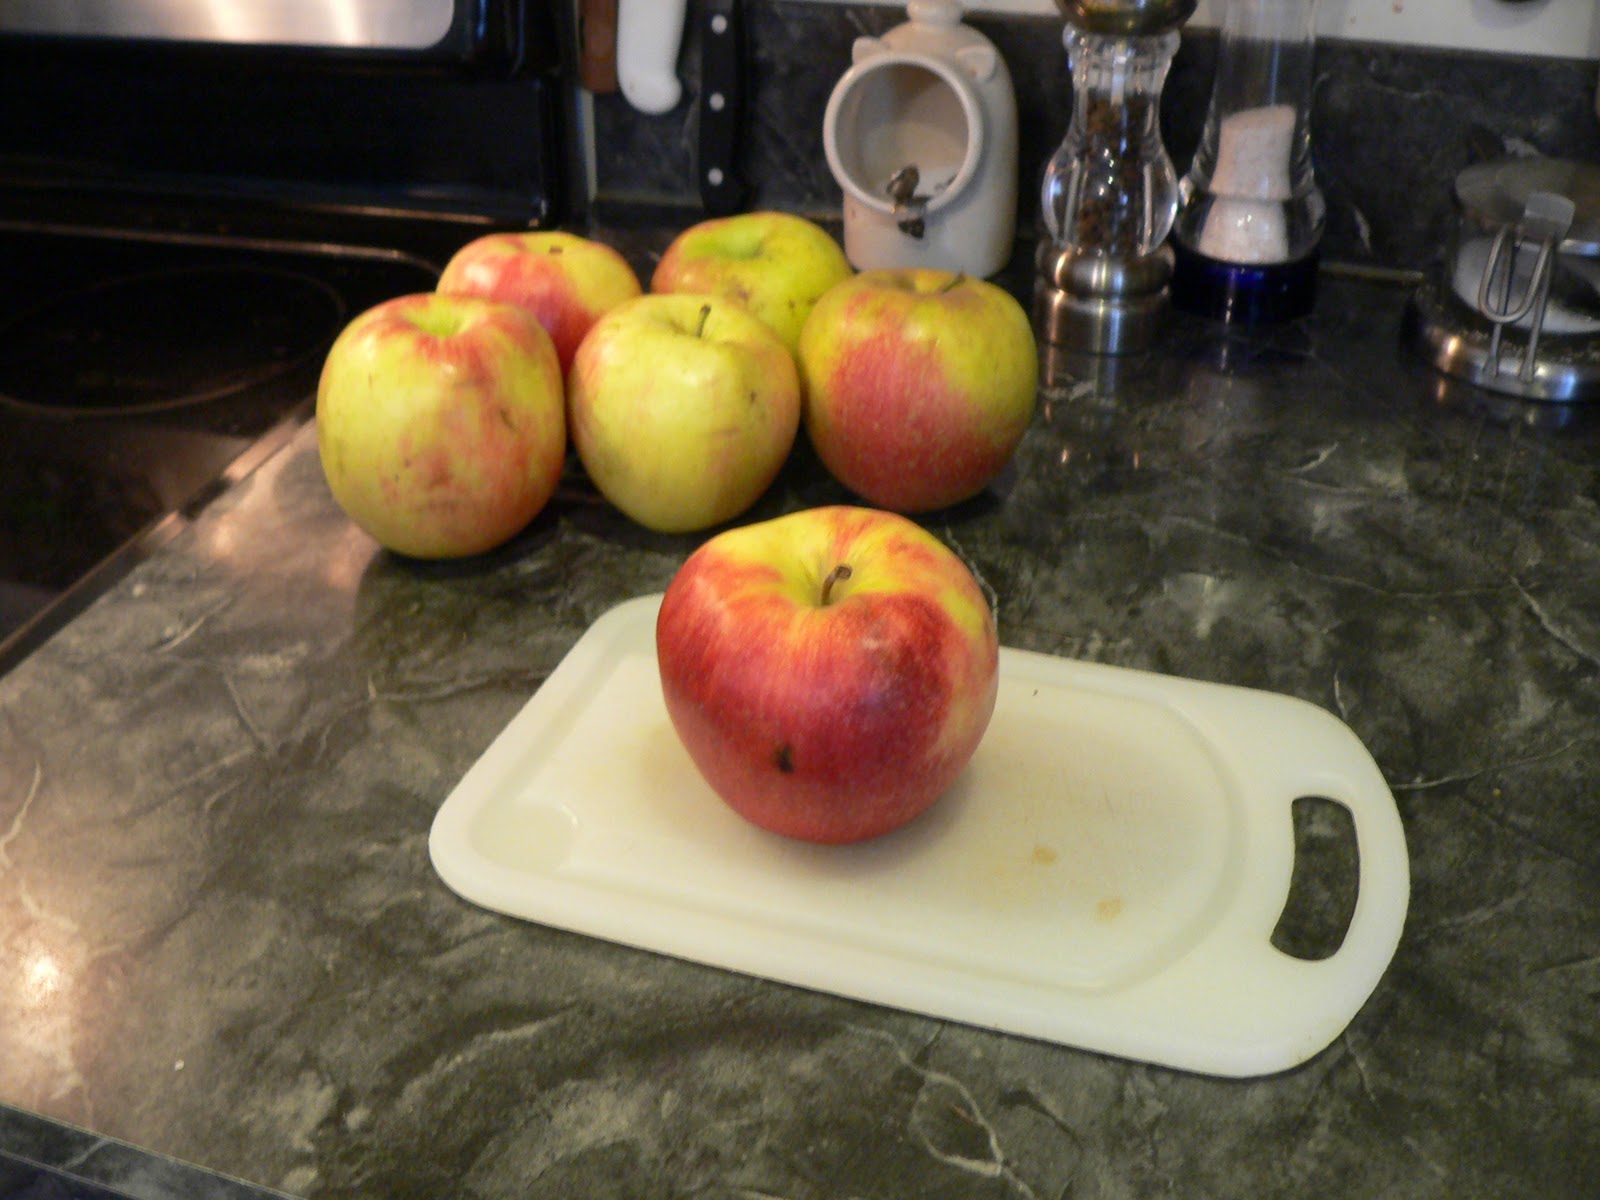
Ready yet? Great! The first big question is always, what kind of apple should I get. You want to start with a sweet apple suitable for eating rather than say a tart granny smith, unless you are into that sort of thing. Now with hundreds of varieties on the market it can be hard to choose, but this is the modern age, of course the internet has the answer. Orange Pippin has an alphabetical listing of hundreds of apples. You are sure to find at least one from you local market that would be a good fit.
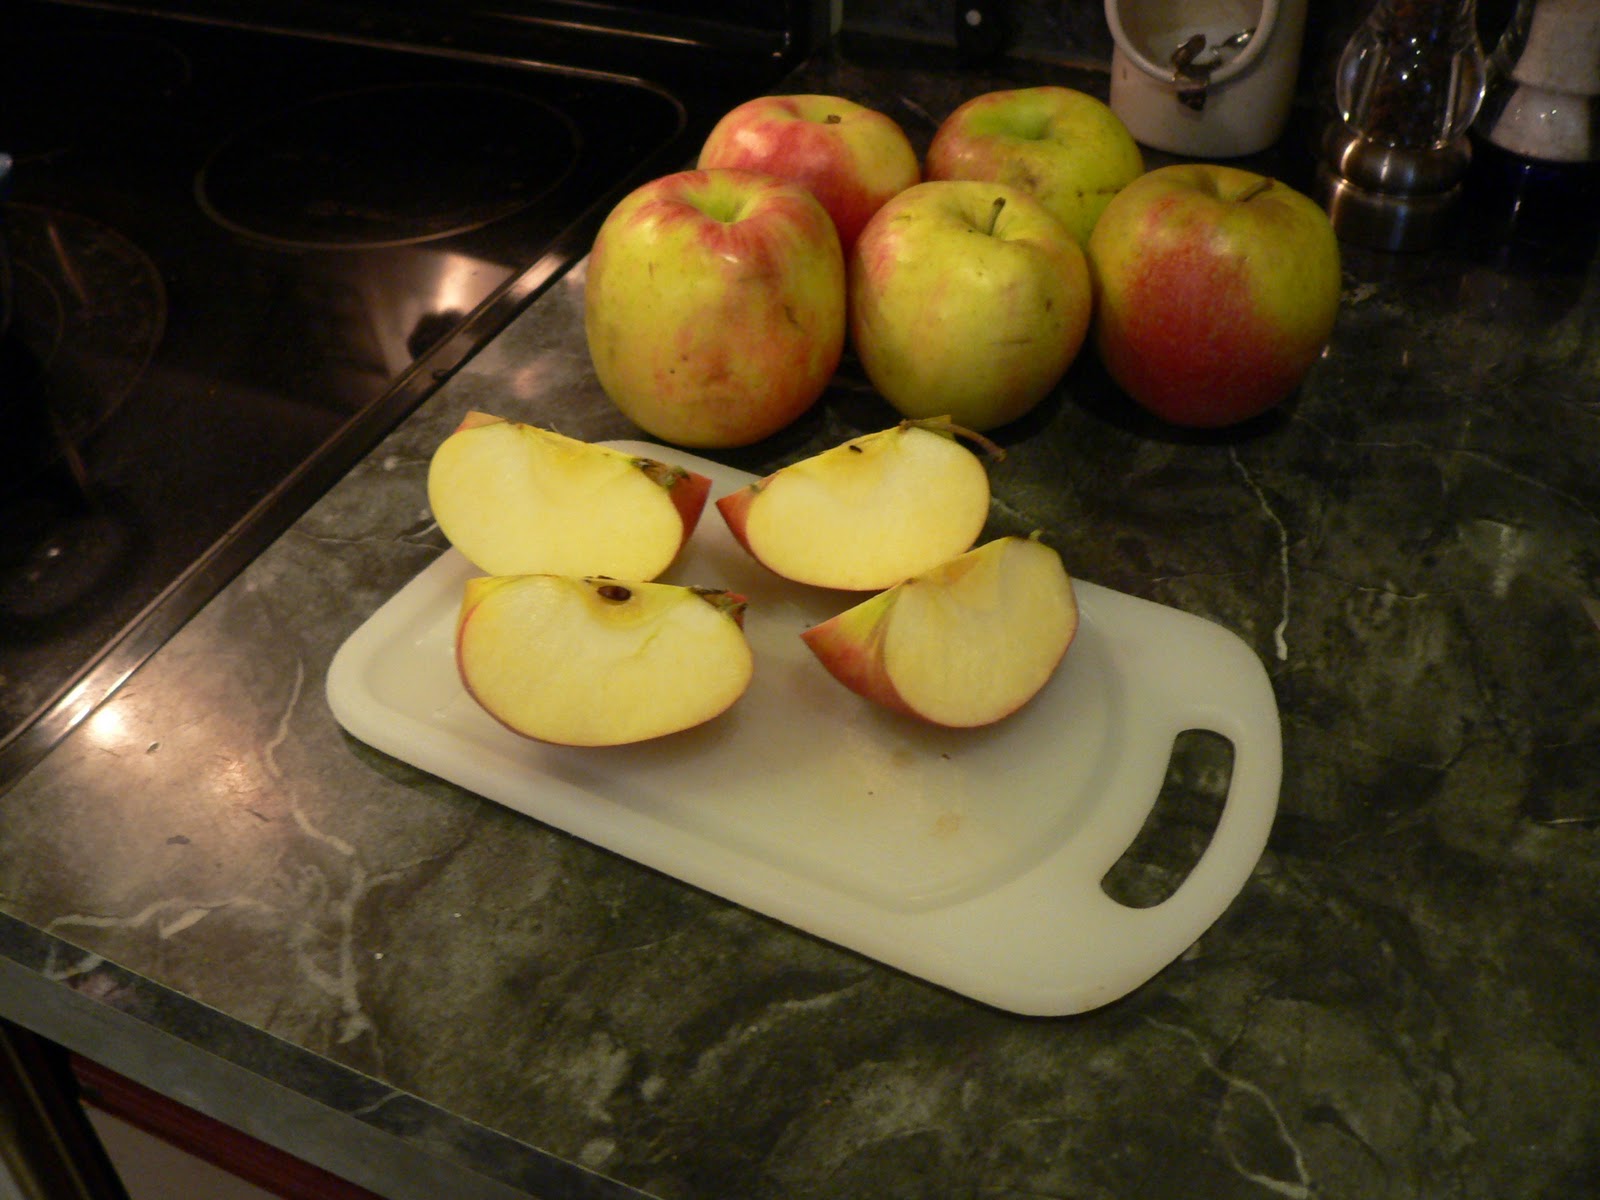
Got your apples? Good. What you see above is a 1/2 bushel of Nittany apples I got as seconds at a local farmers market. I have also used Jonagold which I like even better. Whatever your apples, cut them in quarters. Then put the pieces in a heavy pot, cores, seeds and all. Enamel cast iron is my favorite, but any big pot will do. It should look something like this:

At this point you should add some additional water. 1/2 Cup is a good figure to start with, but in my case you can see that I over stuffed the pot, so I went up to a full 3/4 of a cup, to allow for some lost vapor before the apples collapse and the lid closes on the pot. So then, put the lid on and turn the heat on high. When the water starts to boil and the lid closes you can turn the heat down to low or simmer and allow to cook until the apples are softened and mushy which should be between half an hour and 45 minutes. Note that I didn't add any sugar. If you are regretting your granny smith choice go ahead and add some, but a good sweet apple shouldn't need the added calories. I know my pants don't for sure. You might also want to add a teaspoon or so of cinnamon, but I'll leave that up to you.

When the apples are throughly cooked down and mushy, remove the lid. If it seems on the watery side let it simmer w/o the lid until it has reduced down to a water level you like. Then it is time to break out the ole food mill. If you don't have one they are worth the $30 or so you'd pay, not only for the apple sause, but for soup, and for those moms with the greatest industry - baby food.
Putting the food mill over a large bowl, fill it with apple mush, and crank away! If you have kids, they love this part.


Scrape the sides down on the food mill as needed. When it is clear the pulp has nothing left to give, scape the bottom of the mill and you are done. Apple sause!

Pack into disposable plastic containers, and sling as needed. Don't forget your Santa hat!
No comments:
Post a Comment